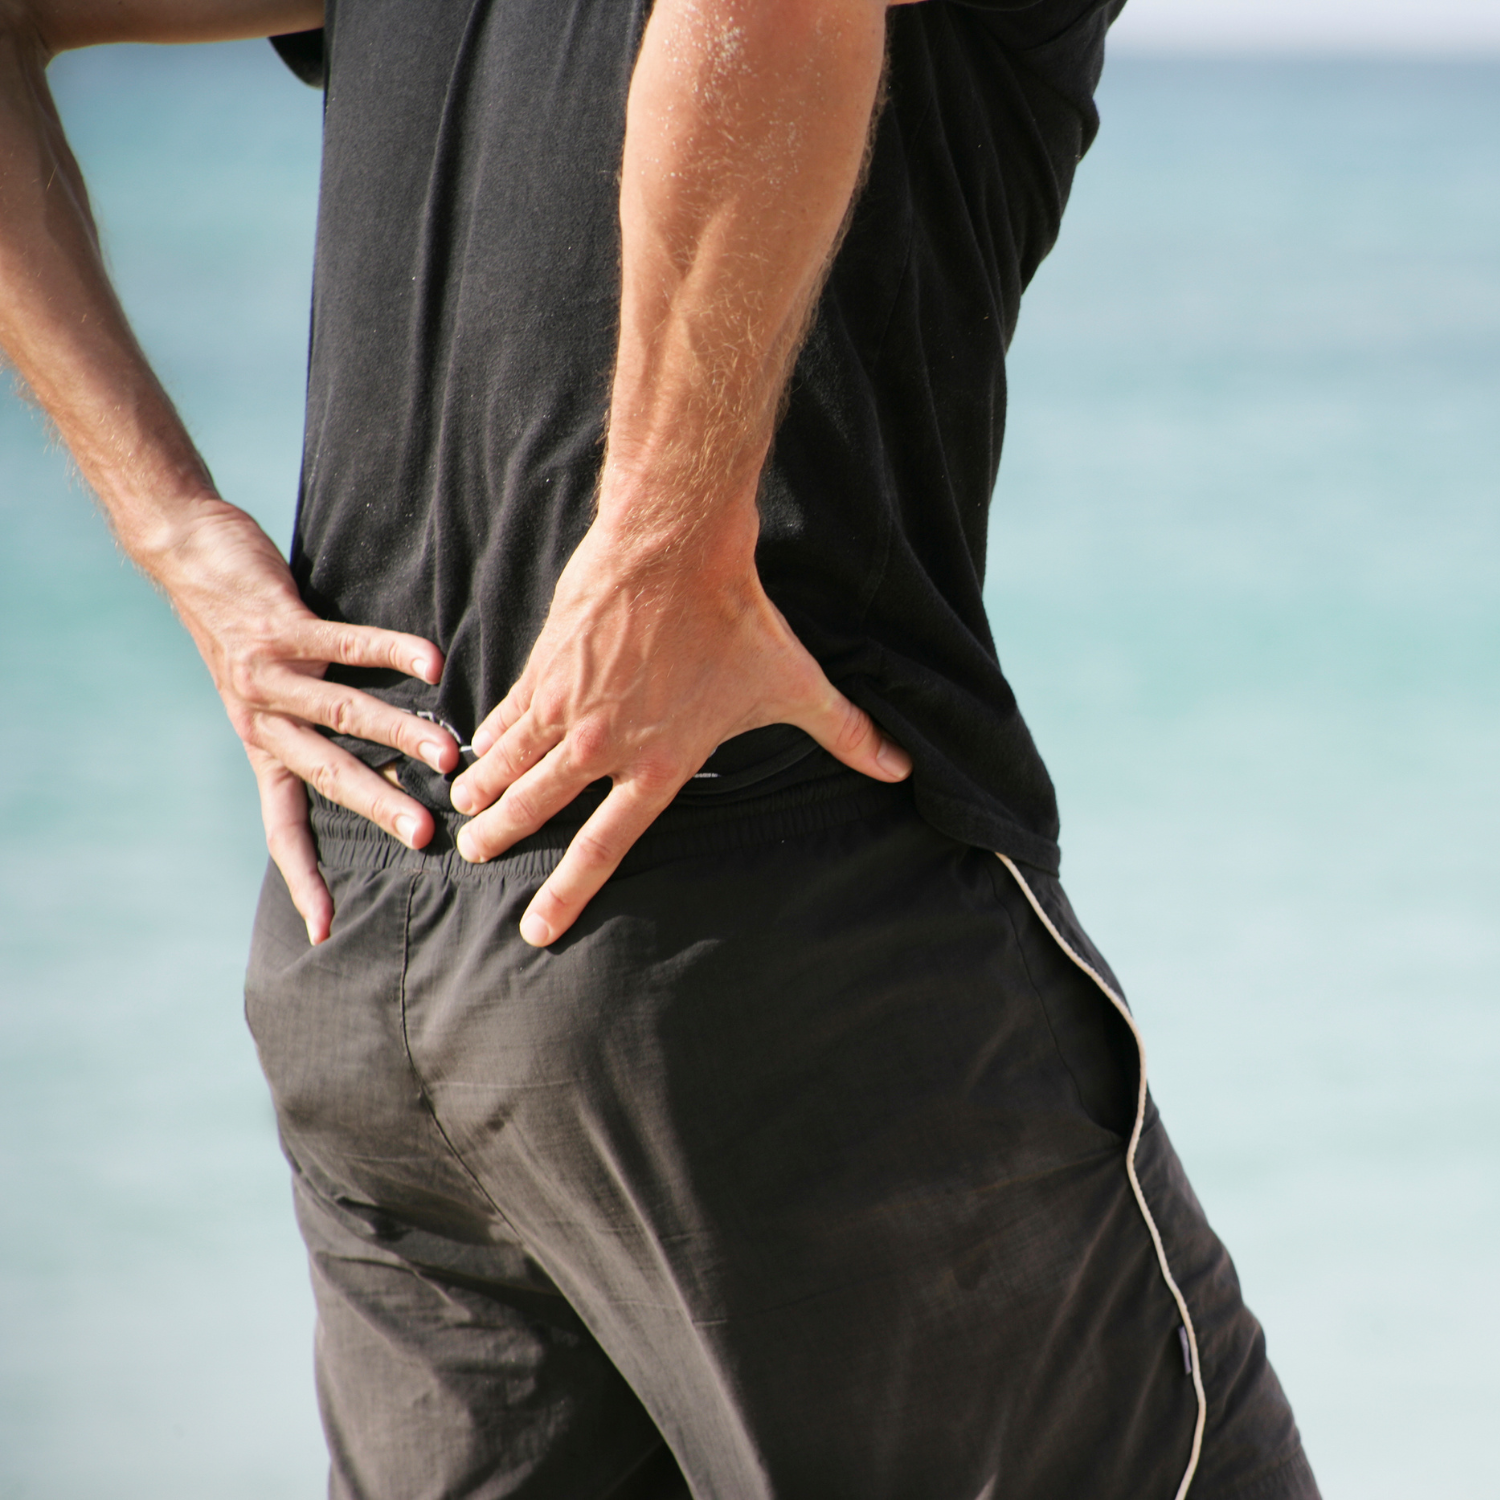
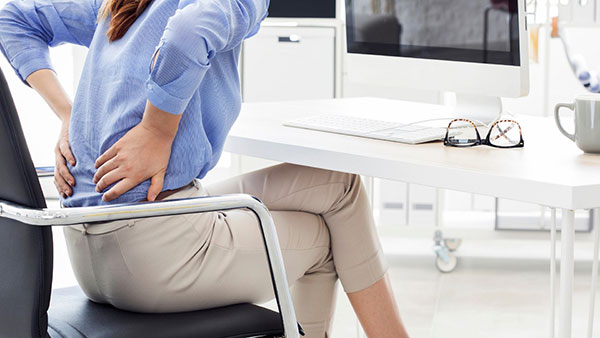
Lower back pain is one of the most common musculoskeletal conditions in the United States. It is the leading cause of missed workdays around the world. It can start as early as in your teens and come and go throughout your adult life.
So, the odds are against you not experiencing lower back pain at some point in your life.
For some people, back pain can be acute and short-lived, and for others, it can be a chronic pain that has to be dealt with daily. In this blog, we will teach you five exercises that you can do at home to relieve your lower back pain.
We will explain how and why you get back pain, and you will learn how to strengthen your spine, stretch, and use the latest home care to live life pain-free.
Acute vs. Chronic Back Pain
 There are two types of back pain: acute and chronic. Acute back pain can last from a couple of days up to 12 weeks (about 3 months). Back pain that has lasted more than 12 weeks is considered chronic.
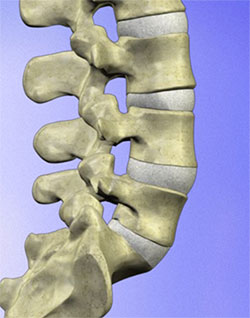
To understand what causes lower back pain, you must understand your spine’s anatomy.
The lumbar spine normally consists of 5 vertebras. Between each vertebra are spinal discs that work as shock absorbers between the vertebras. The function of the spine is to protect the spinal cord.
Coming off the spinal cord between every vertebra is a pair of nerves that send messages back and forth to your brain. The spinal nerves go to your major organs, muscles, and systems that control your body.
Types of back pain:
Injuries
Injuries can happen from accidents, sports, and falls.
- Sprains are injuries to the ligaments of your spine. This happens when they are overstretched, overloaded, and torn. This includes the spinal discs, which can swell (disc bulges) when injured.
- Strains are injuries to the muscles and occur when they are suddenly contracted and torn or repetitively overused, causing micro-tearing.
- Disc herniations, protrusions, and extruded fragments are types of injuries to discs that result in compression of the spinal cord and spinal nerves. They can cause sciatic pain, muscle weakness, and sensory disturbances (numbness, tingling, burning, etc.)
Congenital
- There are many variations and deformities that can affect the spine that you can be born with. These include scoliosis, kyphosis, and excessive lordosis, which are abnormal curvatures of the spine.
- Other congenital anomalies of the lumbar spine are lumbarization (when you have six lumbar vertebrae instead of 5), sacralization (when you have four lumbar vertebrae instead of 5), and spina bifida.
Degenerative Conditions
 Bony arthritic changes are also known as spondylosis of the spine or osteoarthritis. This can weaken your bones and change the shape of the vertebra, spinal joints, and spinal canal.
- Disc degeneration also occurs with the arthritic process. As we age, our discs dehydrate, which weakens the disc, resulting in decreased disc height and degeneration, which can lead to disc bulges and herniations.
- Other conditions that affect the spine are rheumatoid arthritis, psoriatic arthritis, osteoporosis, and osteopenia.
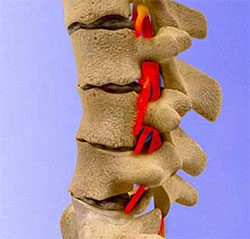
So now that you know a little more, let’s explain nerve pain and sciatica. Sciatic pain is when you feel shooting pain down your leg. It can go into the buttocks, the knee, and the foot. Sciatica is usually the result of disc injury or arthritic changes in the spine that compromise the space from which the nerves exit the spine.
 You may have been given the diagnosis of spinal stenosis or foraminal stenosis. Both problems decrease the space that the nerves have to move and cause pain via compression of the nerve. This can also cause muscle weakness and paresthesia of the lower extremity.
Extreme compression of spinal nerves can cause severe weakness in your foot muscles resulting in drop foot. Drop foot is serious and must be treated expeditiously to avoid permanent loss of strength in the foot. A rare but serious condition occurs with severe compression of the sacral nerves when bowel and bladder problems arise. This must be treated immediately by a spine care professional like an orthopedic or neurologic surgeon.
The good news is that most back pain is episodic, and even chronic cases of back pain can be helped with the proper care.
So, what is proper back care?
Proper back care is understanding how your back works, figuring out what your triggers are for lower back pain, and knowing what is causing your back pain. Knowing what you have determines how best to treat it.
For some people, it is overuse with work, sports, hobbies, or musical pursuits. For others, it is sitting too long at a desk or a car. Injuries, arthritis, improper and repetitive lifting, etc., can cause lower back pain.
So, when you first start to get back pain and have an acute injury, the common treatment of R.I.C.E., which is an acronym for rest, ice, compression, and elevation for sprain and strains. Most minor strains should resolve within a few weeks. Sprains will take longer to heal.
Sprains and strains that don’t resolve within a few weeks should prompt you to see a PT, chiropractor, or other sports medicine professional. Of course, you don’t have to wait for it to get better on its own. Seeing someone right away will decrease your healing time.
What else can you do on your own?
Stretching and Home Care
You can stretch your back, hips, and legs, relieving tight muscles. You could use a Foam Roller, The Stick, Hypervolt Massage gun on the back, hips, and legs to loosen your muscles and prevent inflammation from turning into scar tissue. You could do core and stability exercises to strengthen the injured area to recover and prevent future injury.
Click here for our beginner core strengthening program that can be done after an injury to the lower back.
For disc injuries that do not respond to the above measures, traditional chiropractic care or physical therapy may respond to non-surgical chiropractic spinal decompression therapy or at-home Teeter Inversion Table therapy. Both therapies stretch the spine to reduce the pressure on your nerves and discs.
Non-surgical chiropractic spinal decompression is done in a chiropractor’s office. While using an inversion table is done at home. In-office spinal decompression therapy is more effective than home inversion table therapy because it is more specific about where the traction is applied.
When doing in-office spinal decompression, the patient is harnessed to the table at the ribcage and then to the bottom of the table with another harness around the pelvis. This directs the decompressive forces only to the lumbar spine.
The home inversion table holds you by the ankles, and when you invert, everything below the ankles stretch. This includes the knees, hips, pelvis, and lower back. You can improve the effectiveness of the home inversion table by using an Inversion Table Harness Belt that attaches to the foot/ankle portion of the inversion table.
So let us talk about exercises that can safely strengthen your spine after an injury or disc and nerve condition.
Core and stabilization exercises are recommended for persons with acute or chronic back pain. The exercises I will present to you today are the first exercises you should master after an acute or chronic injury. They are part of a 4-part program I designed to strengthen your back and relieve pain safely after injury.
Start by doing 10-12 reps and 2-3 sets of each exercise, and gradually work up to 3 sets of 25 reps. After mastering this set of exercises, you can move on to our next series, which will be discussed in future blog posts.
A link to a pdf of these exercises and our video is below.
Follow along with our beginner core exercise video on YouTube, or click here for a downloadable PDF.
Beginner core exercises start with the pelvic tilt. Understanding how to pelvic tilt will allow you to get to the posterior pelvic tilt (pelvic neutral) position which is the preferred position for the following exercises. Pelvic neutral is halfway between the arched position and the de-arched spine position.
In the case of acute lower back injuries, you may feel pain in one or both directions of the pelvic tilt exercise. Try to do what you can and don’t force too much, and stay within a pain-free range.
Pelvic Tilt
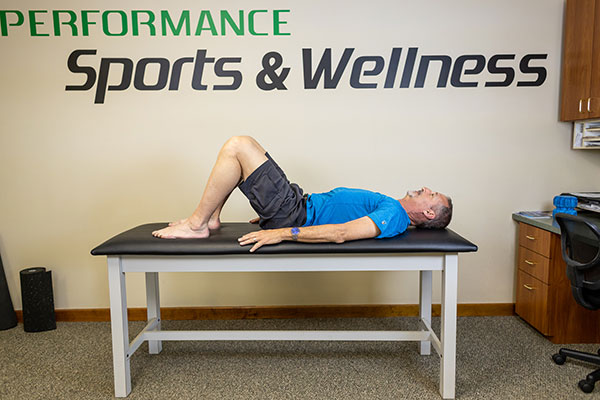
You start the pelvic tilt exercise with a relaxed lower back, the knees bent, and your feet flat on the floor. In this position, there is a space under your lower back. Try to simultaneously contract your butt and abdominal muscles to push your lower back towards the floor and flatten the area under your lower back. This puts you into posterior pelvic tilt. Then relax and repeat this maneuver as you breathe into your chest.
Crunch
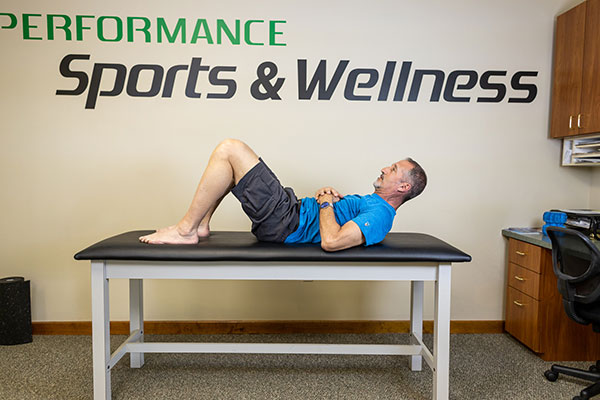
The crunch is started in the posterior pelvic tilt position. The knees are bent, and the feet are flat on the floor. With your arms by your side or crossed on your chest, you lift just enough to get your shoulder blades off the floor. Do not lift all the way. Hold for 5 seconds. This will strengthen your upper abdominal muscles.
Glute Bridge
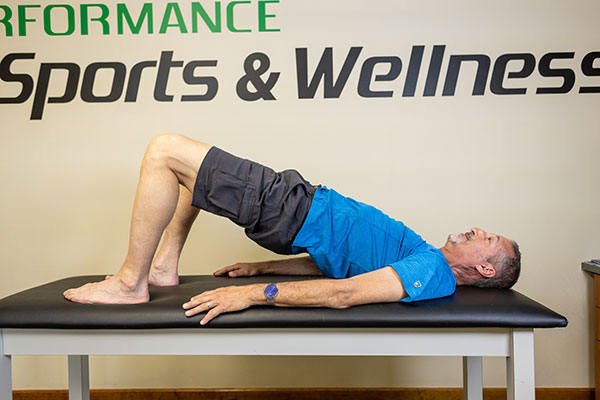
The glute bridge starts in the posterior pelvic tilt position, with the knees bent and feet on the floor as close to your butt as you can. Lift your butt off the ground and hold for 5 seconds, then repeat. Do not raise your butt higher than your knees.
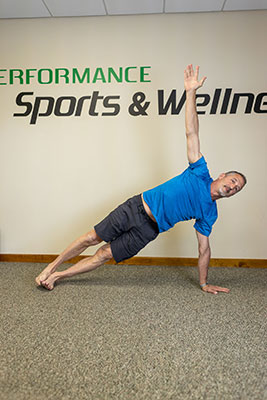
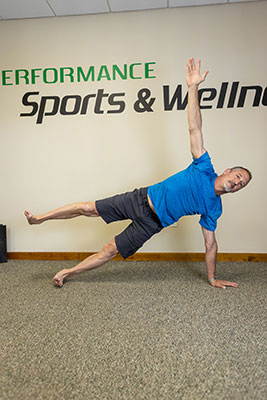
Side Plank
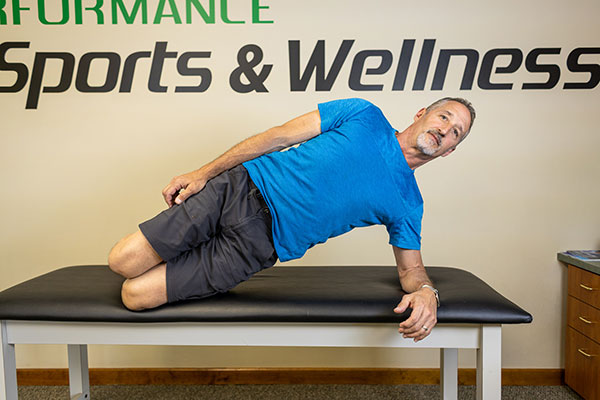
The side plank starts lying on your side with your knees bent. Lift your body on your forearm and knees. Try and maintain a straight spine. Your neck, shoulders, hips, and knees should be in a straight line.
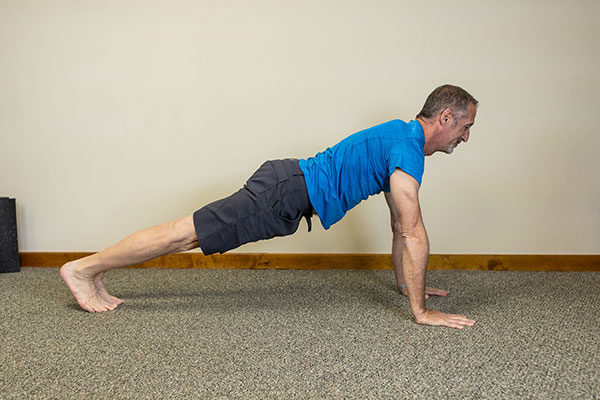
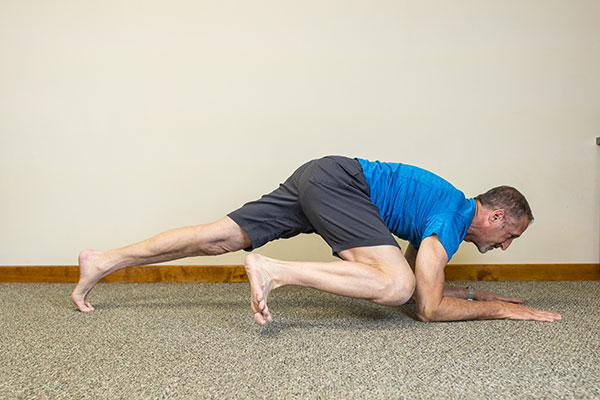
Birddog Alternate Arm / Leg
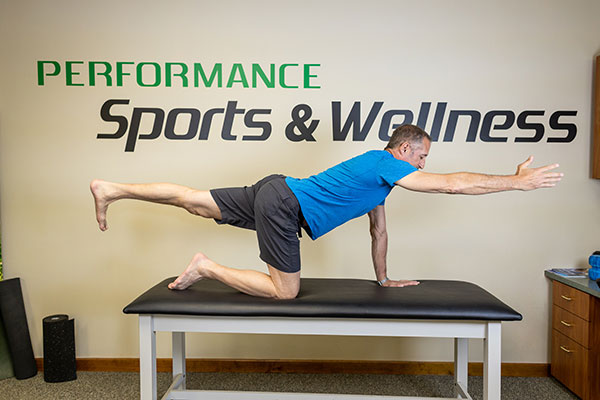
In a quadruped position with your hands under your shoulders, your knees under your hips, and a neutral pelvic tilt, slowly lift your leg and opposite arm and straighten them as you lift them. When returning your arm and leg down, please do not touch the floor; instead, bring your elbow towards your opposite knee and lift and then lift and straighten them again. Then set them down on the floor. Next, perform on the other side and repeat.
Dead Bug
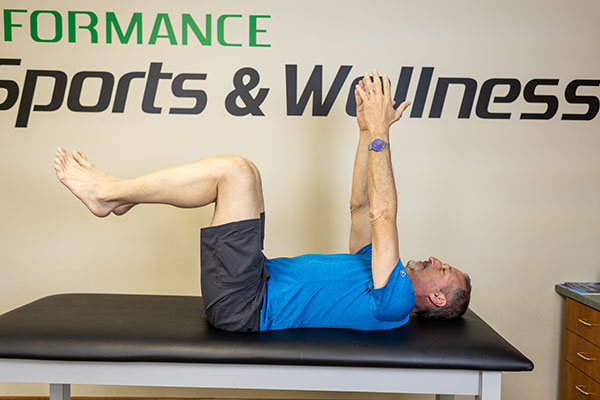
Start with the posterior pelvic tilt pushing your lower back into the floor. Bring your knees up to 90 degrees over your hips and feet parallel to the floor. Raise your arms up straight over your shoulders. Then while keeping your lower back pushed into the floor, extend 1 arm overhead while straightening your opposite leg out to the floor. Repeat on the other side.
Once you can easily perform these exercises, you’re ready for the next level of core exercises! Click here.
To learn more, sign up for our newsletter, where we share useful tips and information like this!
Download a pdf of this routine – click here.
If you’d like to get out of pain as quickly as possible, you can get an appointment with me by clicking the Request Appointment link on the right-hand side of your screen or calling (845) 255-1200. I look forward to meeting you.